![]()
![]()

Would you like to make a beanie out of one of my rovings without having to spin it into your first. Here are the instructions on how to do just that.
I was asked the question "would it felt when washing"; my reply was all wool garments should be hand washed with care, but over a long period of time some felting may occur.
But also if you are into the felting craze you could knit your garment extra large and then felt it on purpose with lots of agitation and the hot/cold water treatment.
So how about you give it a go and be amazed with the results.
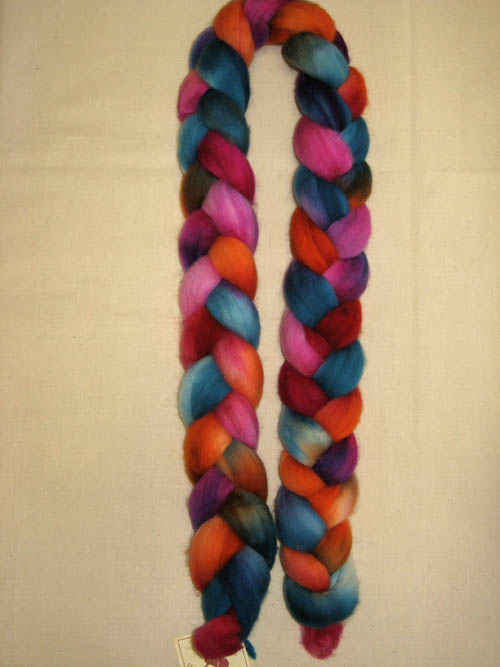
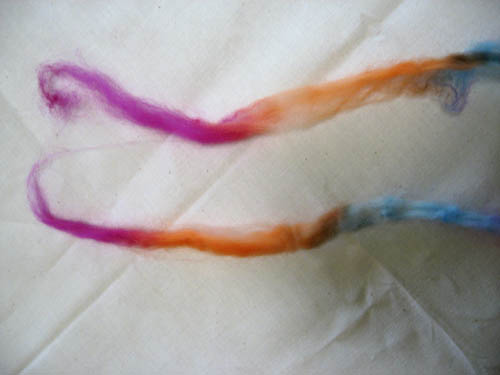

Firstly choose your roving. This one is called "Dazzle".
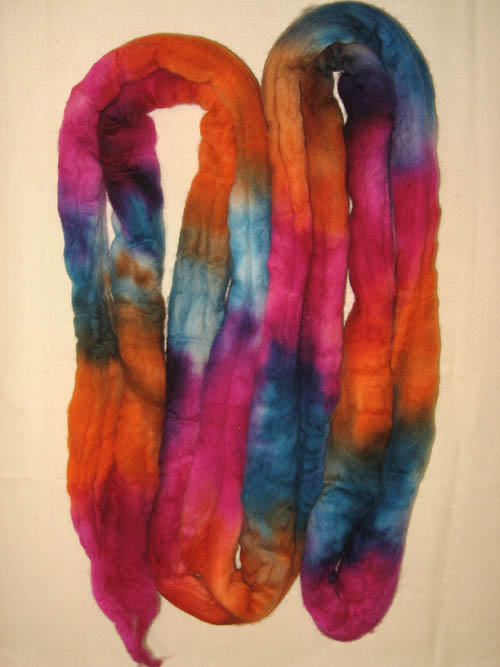
Unplait your roving to form one long length.
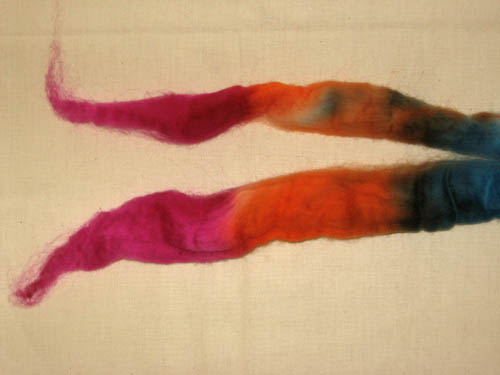
Divide your roving into thin pencil rovings. This is done by gently pulling sidways at the top of the roving. Don't worry if it wants to split too thickly, as once you have divided right to the end, you can repeat this division to make a thinner roving.
You are looking for the thickness of about 12ply yarn. The trick is to go slowly and hold the roving gently as this allows the fibres to part. Once you have a pencil roving ready you can start knitting, or you can prepare all the pencil rovings before you start.
I use a basic beanie pattern for 12ply yarn as I think the colours speak for themselves. At this point you should knit a sample square to check your tension. I use 6mm needles. Once you are happy with your needle selection you can undo your sample square and use this roving as part of your beanie or project. A word on holding the roving while you're knitting - hold it firmly as you knit and it won't come apart. If you are gentle then it will ease apart as when you were splitting the roving. Cast on the required number of stitches according to your pattern; I used 80 and then join in the round placing a stitch makers as you do.
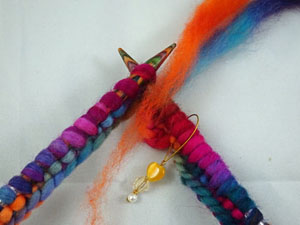
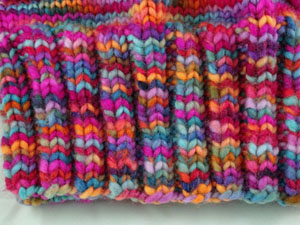
Begin ribbing as per pattern; I do a K2 P2 rib. If you find the roving is a bit thick then gently lengthen it by pulling either side of the thick section. You will soon get the feel of the thickness you need. To join in another length, overlap the two thinned ends by about 5cm, hold together and continue knitting.
The little tail that sticks out from your join is then turned back to you working pencil roving and knitted in.
Rib for the required length of the band; I do 23 rows of rib in all.
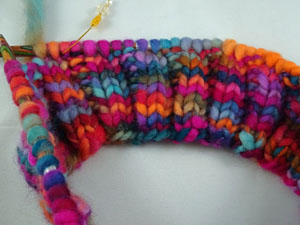
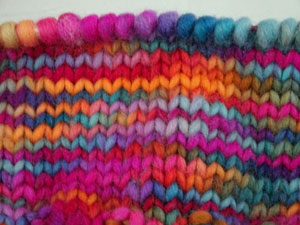
Then change to stocking stitch - knit all rows as you are working in the round for the required number of rows; for me this is 16 rows in total.
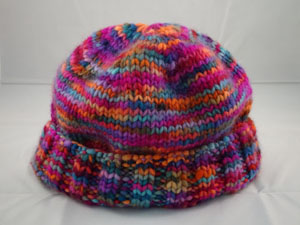
This photo will give you a good idea of what the stitches will look like - I think the pattern made by the colours is just glorious.
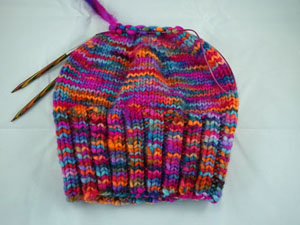
Next is the decrease sequence of your beanie, using the instructions in your pattern. I do K1* K2tog K8, rep from* to the last st K1. Knit the next row. Then K1*K2tog K7 rep from* to the last st K1, knit the next row. Continue decreasing in this manner until there are 26sts remaining, then next row (K2tog) 13 times.
Break off yarn and thread through the remaining stitches.
.
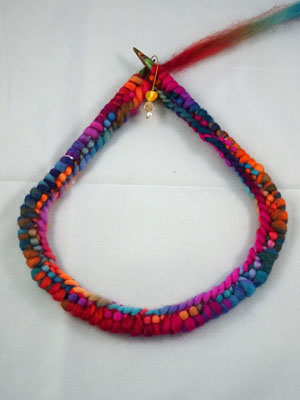
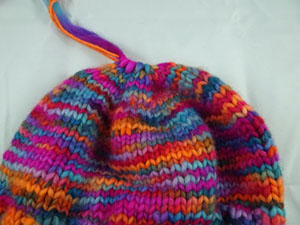
To sew up the top of your beanie I use a matching spun yarn or thread as it is easier. Guess what! You now have a beanie.
It took only one 100gm roving to make this beanie.